Create Nav and Header
July 16, 2020
In this post we will create a Navigation bar and a Header component for our landing page.
Go head and create a navs folder and create a Nav.js file with the following:
import React from "react"

const Nav = () => (
  <nav className="nav border-top flex items-center justify-between flex-wrap bg-transparent p-55 z-100">
    <div className="flex items-center flex-no-shrink text">
      <h1 className="font-display text-red text-2xl">
        <a className="no-underline text-red" href="/">
          Lunar
        </a>
      </h1>
    </div>
  </nav>
)

export default Nav
🌞 We have an HTML Nav bar that is is responsive and allows the user to redirect to the Home page of the site.
Next up create a headers folder and create a file called LandingHeader.js with the following contents:
import React from "react"
import { HeadingOne } from "../typography"
const LandingHeader = ({ imgURL, text = "" }) => {
  return (
    <>
      <div
        className=" text-center bg-transparent "
        style={{
          background: `url(${imgURL})no-repeat center center`,
          backgroundSize: "cover",
          height: "570px",
          marginTop: "-85px",
        }}
      >
        <HeadingOne className="text-5xl pt-44 s:text-4xl">{text}</HeadingOne>
      </div>
    </>
  )
}

export default LandingHeader
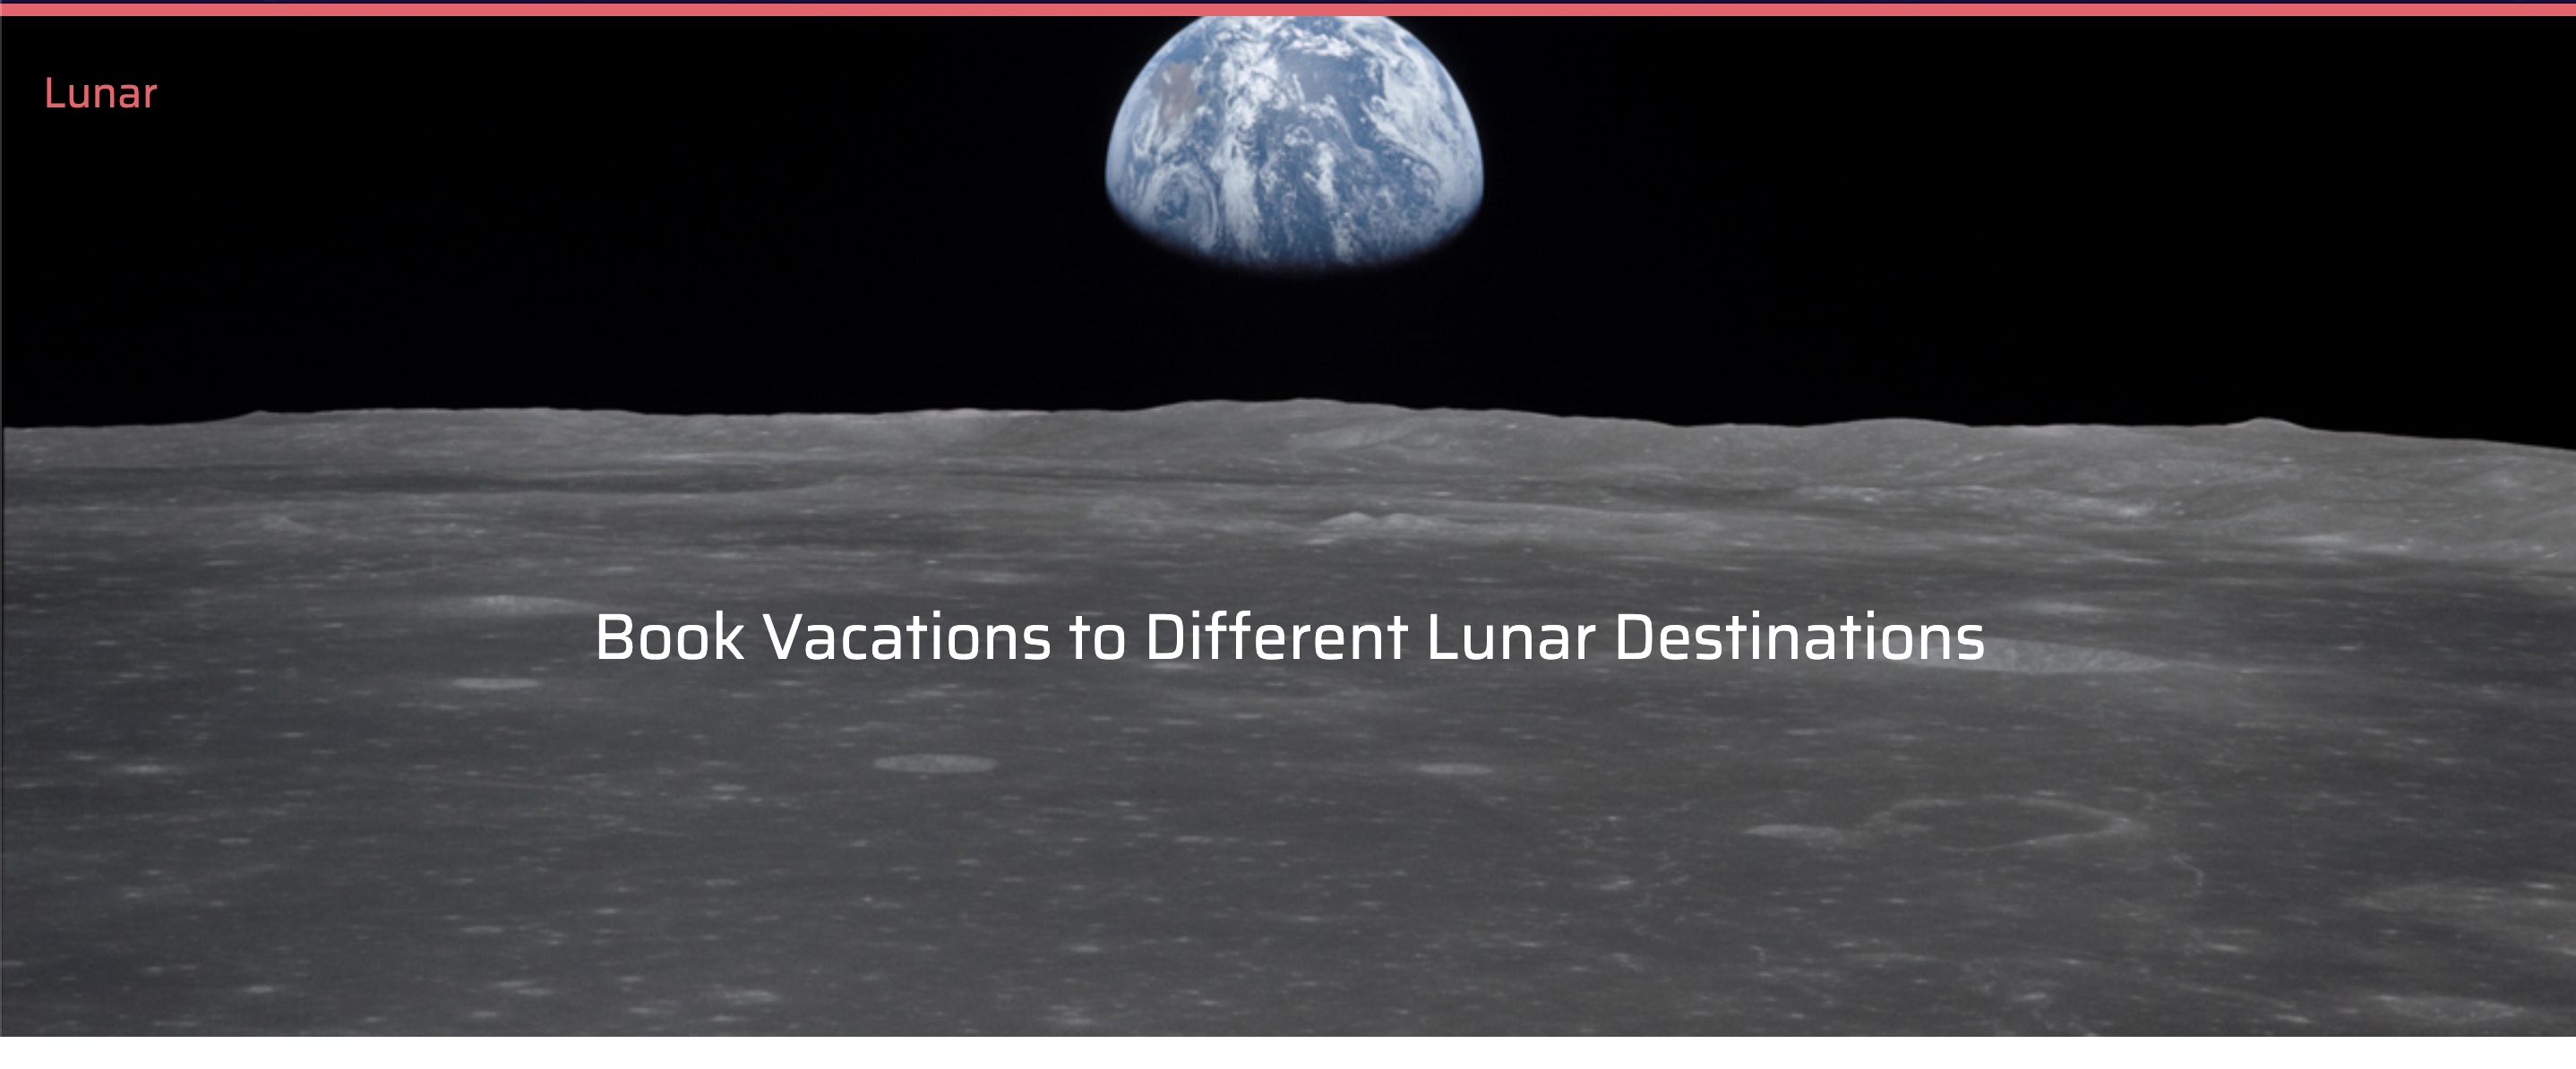
🌞 This is a div with a custom style to allow the image to sit in the background of the component. Tailwind CSS has directives and plugins for this sort of thing, however I left this out and went the vanilla route. Do not be scared to code!
🌞 Then we have Vanilla CSS styles for this component as you are unable to replicate this in TailwindCSS.
🌞 Lastly, we have two props for the image URL and whatever text you want to put in the H1.
Once you're done it should look like this:
