

Creating the Frontend Repo with Vue CLI
May 18, 2020
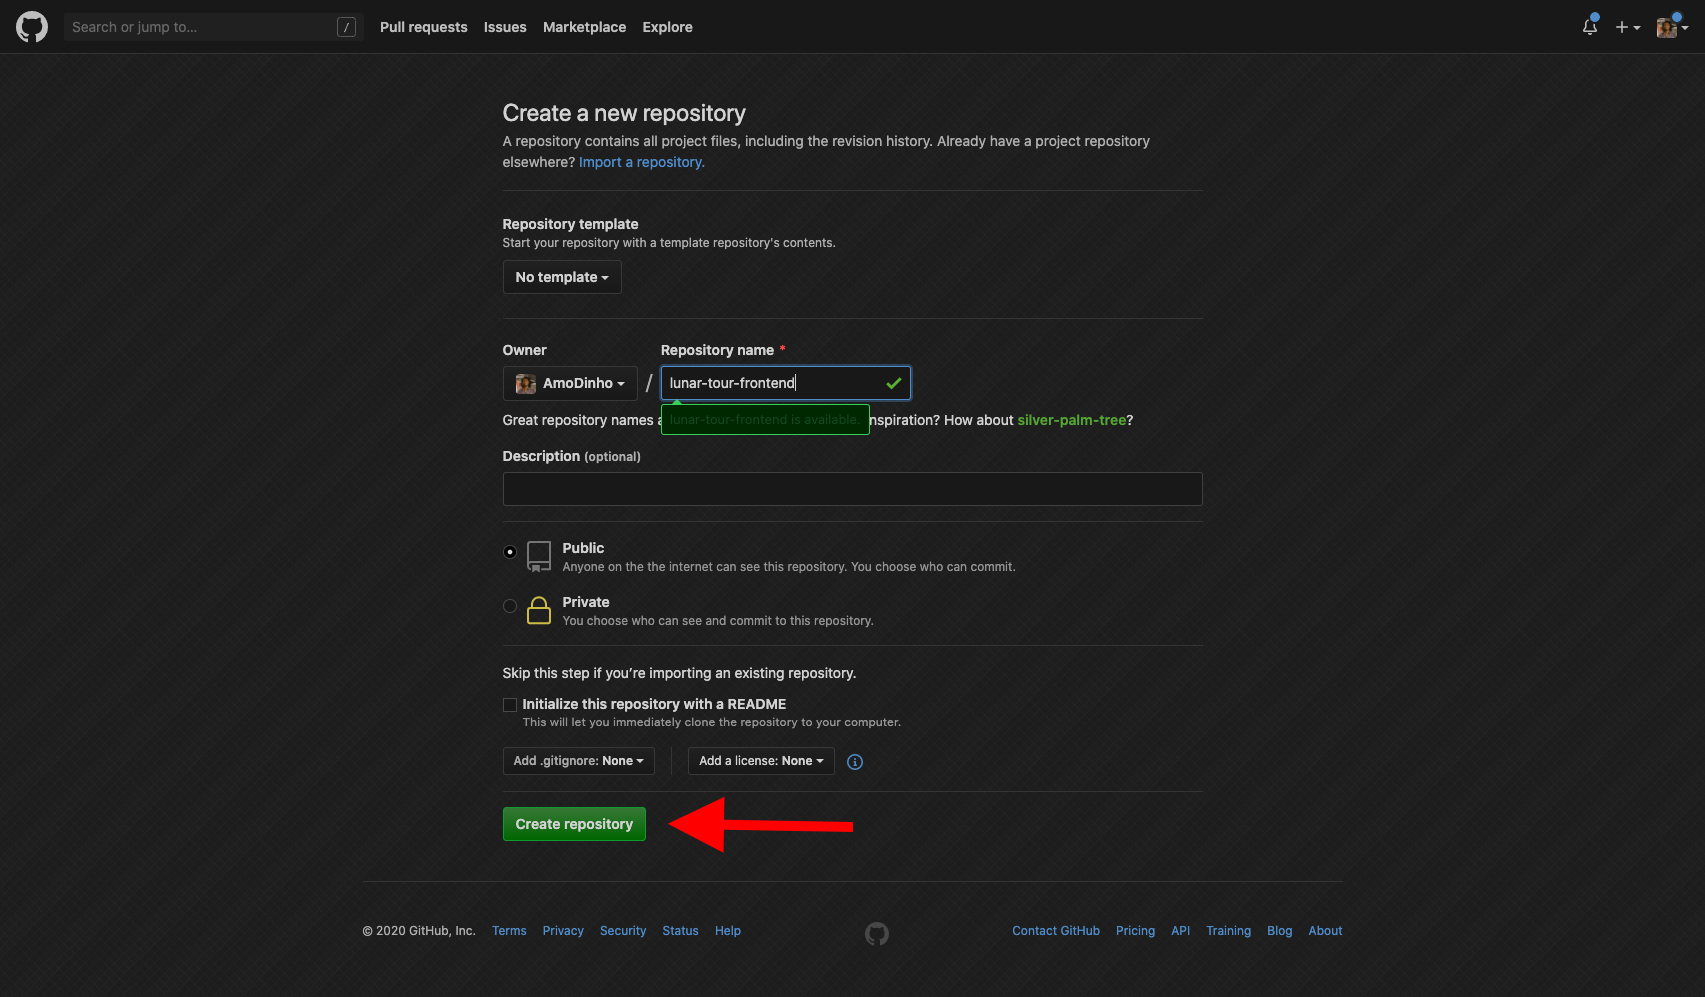
In this section we will start building out the frontend of the Lunar Tour app with VueJS. First we will need to create the repo on Github.
First go to Github and create new repo:
Now that we have it created. We need to install the Vue CLI. It will allow us to scaffold the project. In your terminal run the following:
$ yarn global add @vue/cliOnce it is installed run the following:
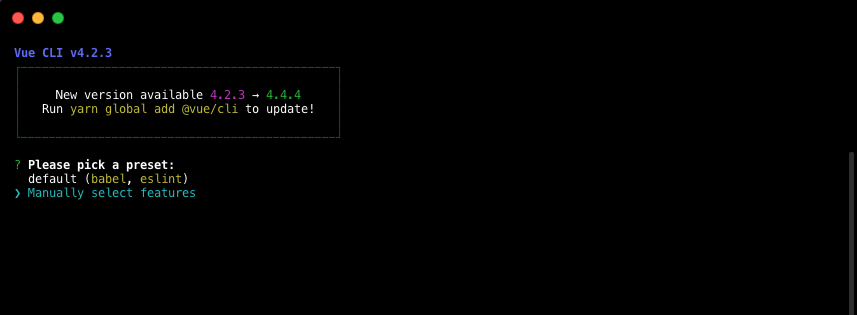
$ vue create lunar-tour-frontendSelect the default option:
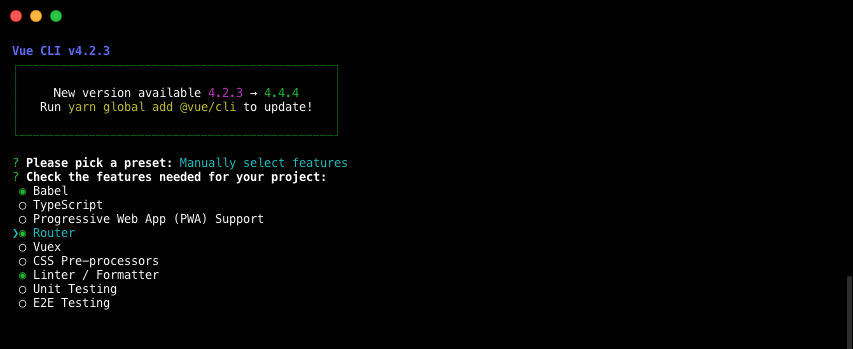
Select the Babel, Router & Linter options.
Select Y for the history:

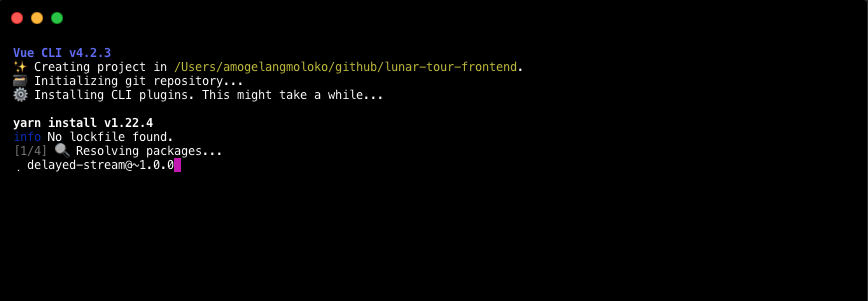
Sit back and let the CLI do the work:
Now change into the directory and start the app:
$ yarn serveIf you go to localhost:8080 your app should be visible.
Now we need to commit this to our repo. Initialize the local directory as a Git repository:
$ git initAdd the files in your new local repository. This stages them for the first commit:
$ git add .Commit the files that you've staged in your local repository:
$ git add .In Terminal,add the URL for the remote repository where your local repository will be pushed:
$ git remote add origin remote repository URL
# Sets the new remote

$ git remote -v
# Verifies the new remote URL
Push the changes in your local repository to GitHub:
$ git push -u origin masterNow all our code is synced with Github.
Lastly, create a folder assets in the src directory and copy all the images in this Google Driver folder. These are all the icons and images we will need for the project.
 Previous
